On the Growth plan or above, you can record a video and create an AI avatar that looks and sounds like you. Your created avatar is private and only available to your account. You can view all of your private avatars on the Avatars page.Documentation Index
Fetch the complete documentation index at: https://docs.akapulu.com/llms.txt
Use this file to discover all available pages before exploring further.
How to create your avatar
- Go to akapulu.com/avatars.
- Click Create +.
- Read the instructions on each slide.
- Review and accept the Biometric Information Notice.
- After completing the slides, click Start recording.
Recording stages
The recording flow has three stages:Stage 1: Consent
The purpose of this stage is to confirm explicit permission to record and train your avatar. Participants will read these consent lines (shown on screen):I, [FULL NAME], consent to Akapulu recording my audio and video.I consent to Akapulu using this recording to create my AI avatar.- Public avatar recordings also include:
I understand this avatar may be used by other users while using the Akapulu platform.
Stage 2: Sentences
The purpose of this stage is to capture enough speech and facial variation to build a stable avatar voice/face model. Participants will read 20 fixed sentences (shown on screen) clearly while looking at the camera.Stage 3: Idle
The purpose of this stage is to capture neutral facial motion for natural idle behavior between speaking turns. Participants will hold a natural idle stare for 15 seconds while staying as still as possible and looking at the camera.Recording demo
This demo shows the expected end-to-end flow for creating your own avatar, from reviewing the New Avatar slides to completing the recording session (consent statements, sentences, and idle capture). For brevity, the sentences and idle capture sections are fast forwarded.Recording tips
- Record in a quiet room with minimal background noise.
- This helps produce clean audio for voice training and improves transcription quality.
- If you have long hair, tie it back (for example, a bun).
- This creates a clearer visual boundary between your head and torso for better avatar rendering.
- Speak clearly and enunciate each word.
- Accuracy is especially important during the consent statements, where lines should be read exactly.
- Avoid touching your face and avoid large head movement.
- Try to keep your head in a consistent position throughout all stages: consent, sentences, and idle.
- During the idle stage, keep your torso as still as possible.
- Look naturally at the camera, blink and breathe naturally, and avoid sudden or jolting movements.
- Keep your setup consistent for the full recording.
- Maintain stable lighting, camera placement, and framing from start to finish.
Continuity Camera note (Mac + iPhone)
Continuity Camera lets a Mac automatically use a nearby iPhone camera and microphone as input devices.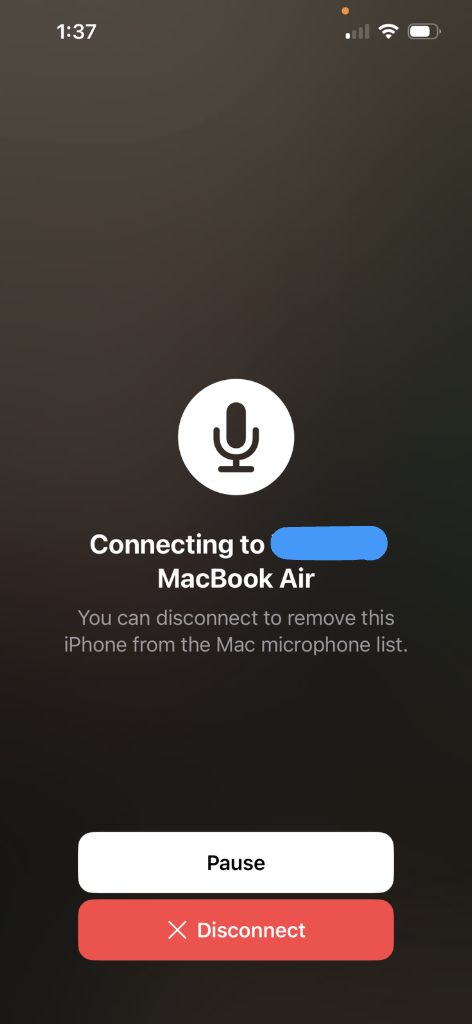
We have seen recording quality issues when Continuity Camera is active unintentionally (for example, if the iPhone is far away or in a pocket and gets selected as the mic). In mixed setups, audio and video can also become out of sync. If this happens, disconnect Continuity Camera for the session, or disable it on iPhone in Settings > General > AirPlay & Handoff > Continuity Camera.
Training
Avatar training typically takes around 1 hour and reserves one concurrency slot while training is in progress. You can view the training progress from the Avatars Table.Using private avatars
You must wait until an avatar finishes training before it can be used in a conversation. When starting a conversation, pass the avatar UUID to theconnect endpoint as avatar_id (272ecb56-cb.. in the example above).
When calling the
connect endpoint, avatar_id must reference either a public catalog avatar or a private avatar owned by your Akapulu account. Private avatar IDs are account-scoped and cannot be used by other accounts.